Mansion Tycoon Mansions 1–4 Walkthrough
Room order, 100% badges, and the right time to open the next plot.
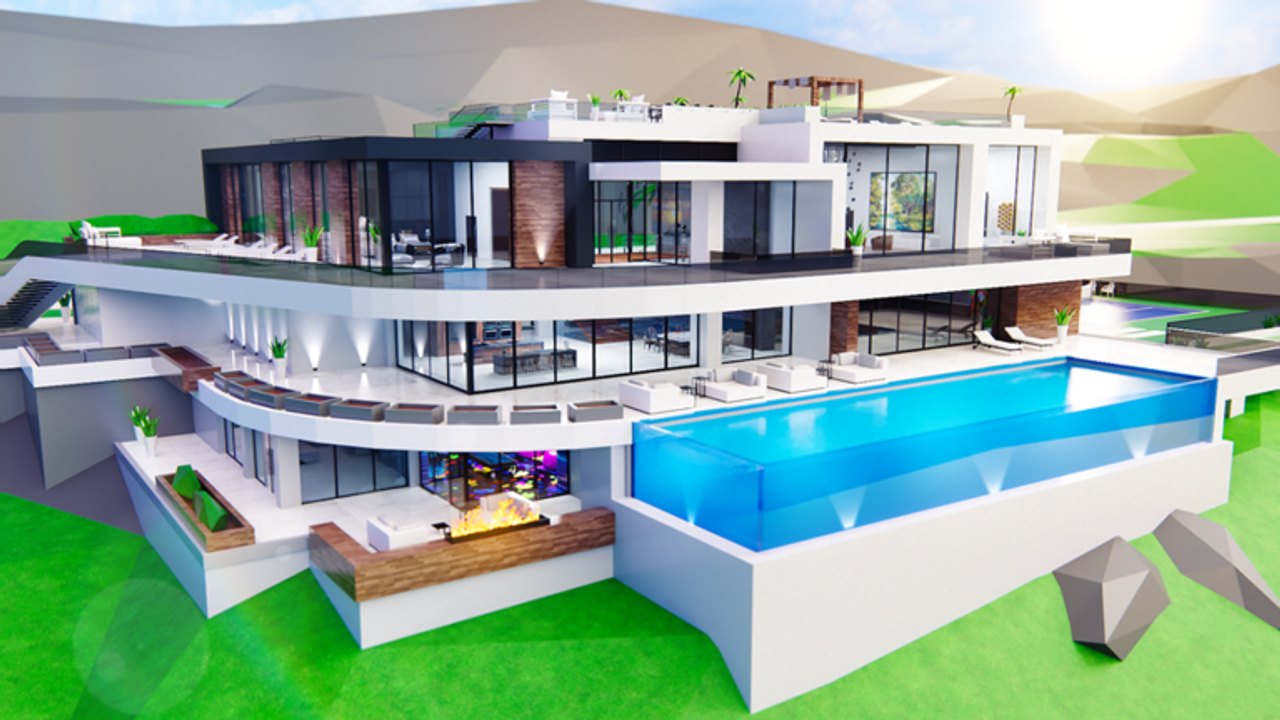
Capybara’s Productions ships several properties, but the backbone is still Mansion 1, Mansion 2, Mansion 3, and Mansion 4. Each one has a 100% Completed badge. Beach Mansion, Penthouse, and Yacht Mansion are later chapters with their own badges; those live on penthouse and yacht. This page is the four villas: what to buy, in what spirit, and when to walk away. If you do not have a collector habit yet, stop and read getting started plus the money guide. A 100% run on an empty mailbox is just standing on expensive pads.
Track leftovers with the progress checklist. Rank which house to open next on the property tier list. The video on this page is a Mansion 1 session with early cars — useful for seeing button density, not a reason to copy the creator’s garage.
How 100% actually works
A property is not “done” when it looks furnished from the street. 100% means every required button on that plot is purchased, including ugly utility pads, extra parking, and late goldify / shine options if that house uses them. Missing one backyard fountain can hold the badge. Sweep in a grid:
- Ground floor interior
- Upstairs / extra wings
- Outdoor pool, garden, driveway
- Garage and parking pads
- Any basement or roof you unlocked mid-build
If the badge does not pop, you missed a pad, not a secret code. There are still no promo codes. Walk the fence line. Green buttons hide behind hedges, under stairs, and on the far side of a pool.
Do not goldify first. Shine buttons are last-pass cosmetics on houses that include them. Buying gold furniture while a dropper is still locked is how people stall Mansion 2 for a week.
Mansion 1 — learn the language of buttons
Mansion 1 is the tutorial even though the game barely lectures you. Spend the group $10,000 here (see free rewards). Order of rooms that usually feels right:
- Pathing and collector access so you are not jumping walls.
- Outdoor droppers / first income pads.
- Living areas that open more pads (floors, walls, stairs).
- Kitchen and dining clusters once the walk is short.
- Bedrooms and bathrooms — these are badge completion, not rate.
- Garage pads after the pickup is healthy.
- Remaining statues, plants, and lights.
When to move on: the Mansion 100% Completed (or the Mansion 1-specific 100% toast) has fired, or every leftover button is a cosmetic that costs more than your next plot’s opener. Do not open Mansion 2 because a neighbor finished theirs. Open it because your collector can fund a second set of early buttons without going to zero.
First cars belong after the garage exists, not before. One regular spawn is plenty. Limiteds wait; the cars page is blunt about this.
Mansion 2 — same loop, longer driveway
Mansion 2 is Mansion 1 with more hallway. Income buttons are mixed with roleplay furniture. Keep the same radius rule from the money guide: clear cheap pads near the collector, return, expand. Typical room order:
- Entry, foyer, and anything that unlocks stairs
- Main lounge and kitchen (high button count)
- Outdoor pool / patio (easy to miss pads along the water)
- Upper bedrooms
- Garage expansion
When to move on: 100% badge, or you are only staring at six-figure decorations while Mansion 3’s opener is cheaper than those decorations. If you feel slower than on Mansion 1, you are probably joyriding. Park the car. The race track does not complete this house.
Mansion 3 — resist the showcase
By Mansion 3 the map is full of other players’ finished builds. That is eight-player social pressure, not a strategy. Your 100% is still a grid sweep. Rooms to clear in layers:
- Core living / kitchen (income-adjacent structure)
- Extra wings and balconies
- Home theater / gym / office clusters if present — these are deep badge rooms
- Driveway lighting and extra parking
When to move on: badge pops. If a limited car drop hits the shop during this house, ignore it unless the remaining Mansion 3 buttons are all bought. A timed offer is not a 100% requirement. Special offers (five of them across the garage career) are optional flex, not villa progress.
Mansion 4 — last villa before the “wow” properties
Mansion 4 is the last of the numbered villas. Button prices climb hard. Creators have spent sessions in the hundreds of millions finishing late houses; even if your exact pad prices differ after patches, expect this plot to feel slow without a strong collector and, optionally, Auto Collect (200 Robux). See the gamepass tier list if mailbox trips now eat the session.
Room order stays practical:
- Anything that raises income or opens floors.
- Large living volumes (these hide corner pads).
- Outdoor lots — Mansion 4 yards are easy to under-sweep.
- Garage and extra spawns.
- Leftover cosmetics and goldify if the plot uses them.
When to move on: Mansion 4 100% is in the badge list. Then — and only then — Beach Mansion is a reasonable open. Opening Beach, penthouse, and yacht with Mansion 4 half-done splits your cash across three mailboxes and none of them finish. One property to 100%, then the next. The property tier list agrees with that boredom.
Cars, elevators, and other distractions while you 100%
- Parking pads on these villas exist so you can spawn a daily driver. They are not a second tycoon. Spawn from the pad; details on cars and controls.
- Race track is a break, not a farm. Racing does not buy a kitchen.
- Helicopter is a travel tool for later map distances. You do not need it to finish Mansion 1.
- Elevators matter more on penthouse/yacht. If a villa has stairs and an elevator, use whichever gets you to the missed pad.
- Events (eggs, cards, barn parts) can be collected between rooms. Do not abandon a 90% house for a hunt unless the event is leaving today — then see easter eggs and events.
A clean 1–4 checklist
- Group verify.
- 100% Mansion 1.
- One cheap car if you want to drive.
- 100% Mansion 2.
- 100% Mansion 3.
- 100% Mansion 4.
- Only then Beach → penthouse → yacht.
If a patch adds rooms (watch patch notes), the badge can drop below 100% again. That is normal. Sweep the new pads; do not restart the save. Unofficial auto build tools try to step buttons for you. Official 100% is still you, on the pad, with cash in the collector.
Frequently Asked Questions
Quick answers to the most common Mansion Tycoon questions.
Do I need to 100% Mansion 1 before opening Mansion 2?
You should. Splitting cash across plots delays both badges. Use the progress checklist and this walkthrough.
Why did I not get the 100% badge?
A hidden outdoor or garage button is still unpaid. Grid-sweep the plot; then confirm leftovers on the property tier list.
Should I buy cars while finishing villas?
One regular driver is fine. Limiteds wait until income buttons are gone. See cars.
What comes after Mansion 4?
Beach Mansion, then penthouse, then yacht, all on penthouse and yacht. Keep the money guide handy for the price jump.